Lesson 1Miscellaneous hardware: pilot bearing/bushing, alignment tool, flywheel bolts, torque-to-yield considerationsHere we list the small but critical hardware that makes a manual swap reliable. You will learn how to choose pilot bearings, alignment tools, flywheel and pressure plate bolts, and when to replace torque-to-yield fasteners.
Selecting pilot bearing or bushing typeUsing clutch alignment tools correctlyChoosing flywheel and clutch bolt gradesIdentifying torque-to-yield fastenersApplying threadlocker and torque specsLesson 2Flywheel vs flexplate selection: matching bolt pattern, weight, and starter engagementThis section covers choosing a flywheel to replace the automatic flexplate. You will match crank bolt pattern, ring gear, and starter engagement, while balancing weight, material, and surface finish for your power and usage goals.
Matching crankshaft bolt pattern and sizeChoosing flywheel weight and materialVerifying ring gear tooth count and pitchChecking starter motor engagement depthResurfacing and balancing the flywheelLesson 3Interior parts and trim: center console, shift boot, handbrake linkage or cable adjustmentsThis section details the interior parts needed for a clean manual conversion. You will plan for shifter trim, console changes, shift boot, and any handbrake linkage or cable adjustments to maintain function and factory-like appearance.
Selecting manual center console piecesFitting shift boot and trim ringBlocking old automatic shifter openingsAdjusting handbrake linkage or cablesFinishing panels for OEM-like appearanceLesson 4Manual transmission selection: identifying correct gearbox model and ratiosHere you will learn how to choose the correct manual transmission for your vehicle. We cover gearbox codes, bellhousing patterns, gear ratios, and torque capacity so the unit fits and supports your performance goals.
Decoding gearbox model and ID tagsMatching bellhousing to engine patternComparing gear ratios and final driveChecking torque rating and durabilityEvaluating shifter position and fitmentLesson 5Hydraulic and cable systems: master cylinder, slave cylinder, hydraulic lines or cable kitsYou will compare hydraulic and cable clutch actuation systems and select components that match your transmission. We cover master and slave cylinders, lines, or cable kits, plus routing and heat protection for reliable operation.
Choosing hydraulic vs cable actuationSizing master and slave cylinder boresRouting hydraulic lines and flex hosesSelecting clutch cables and bracketsProtecting lines and cables from heatLesson 6Pedal assembly: clutch pedal, pedal box modifications, and pedal ratio considerationsHere you will learn how to source or modify a pedal box for a clutch pedal, set proper pedal ratio, and ensure safe mounting. We cover reinforcement, travel, and ergonomic placement for consistent clutch feel and control.
Comparing OEM vs aftermarket pedal boxesSetting clutch pedal ratio and leverageReinforcing firewall and mounting pointsAligning pedals for driver ergonomicsAdding pedal stops and return springsLesson 7ECU/TCU, sensors and switches: neutral/clutch safety switches, reverse light switch, speed sensor compatibilityThis section explains how to adapt ECU, TCU, sensors, and switches when deleting the automatic. You will handle neutral and clutch safety circuits, reverse lights, and speed sensor signals to avoid faults and maintain safety.
Bypassing or reconfiguring the TCUWiring clutch and neutral safety switchesConnecting reverse light switch circuitsAdapting vehicle speed sensor signalsUpdating ECU coding for manual swapLesson 8Transmission mounts and crossmember: mount locations, isolator choices and hardwareThis section explains how to select or fabricate transmission mounts and crossmembers for the manual gearbox. You will confirm mount locations, isolator stiffness, and hardware so the drivetrain is secure and properly aligned.
Locating manual gearbox mount pointsComparing rubber vs poly isolatorsModifying or fabricating crossmembersSelecting correct mount bolts and studsChecking driveline height and angleLesson 9Clutch assembly components: clutch disc, pressure plate, release bearing and why each is requiredYou will learn each component of the clutch assembly and why it is required. We cover clutch disc, pressure plate, release bearing, and related hardware, plus how to match them to engine torque and driving style.
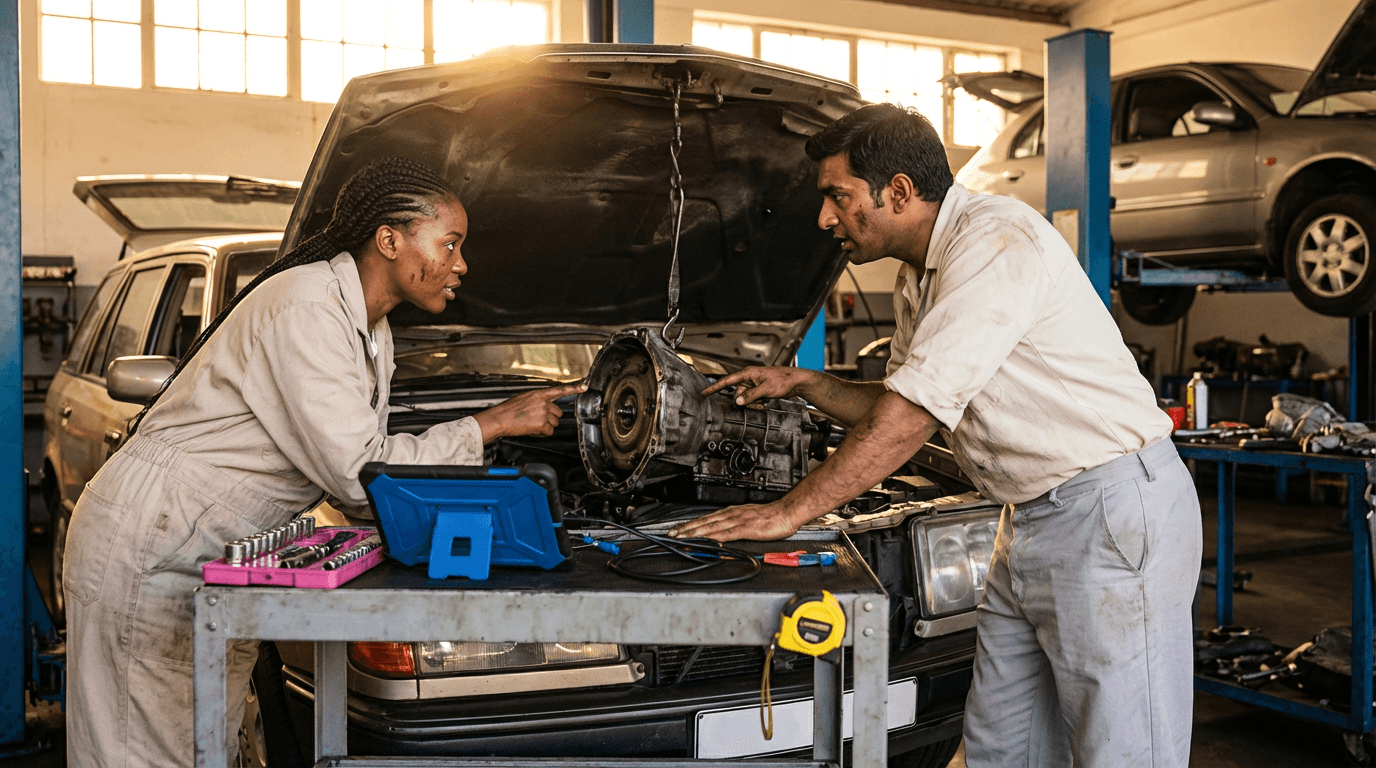
Choosing clutch disc diameter and splineSelecting pressure plate clamp loadTypes of release bearings and carriersMatching clutch to power and usageInspecting and replacing clutch hardwareLesson 10Driveshafts and half-shafts: axle spline, CV joint selection and length/offset checksThis section explains how to choose and measure driveshafts and half-shafts for a manual swap. You will verify spline count, CV joint style, length, and offset so the drivetrain runs smoothly without vibration or binding.
Measuring overall shaft length and travelIdentifying axle spline count and diameterChoosing correct CV joint type and sizeChecking flange patterns and bolt circlesAssessing driveline angles and vibrationLesson 11Shifter and linkage: floor or column shifter assemblies, cables, bushings, and bracket requirementsThis section covers shifter assemblies and linkage needed to operate the manual gearbox. You will choose floor or column shifters, cables or rods, bushings, and brackets, and ensure precise, rattle-free gear engagement.
Selecting floor vs column shifter typeChoosing rod or cable linkage systemsReplacing worn shifter bushingsPositioning shifter for cabin ergonomicsMounting brackets and vibration control