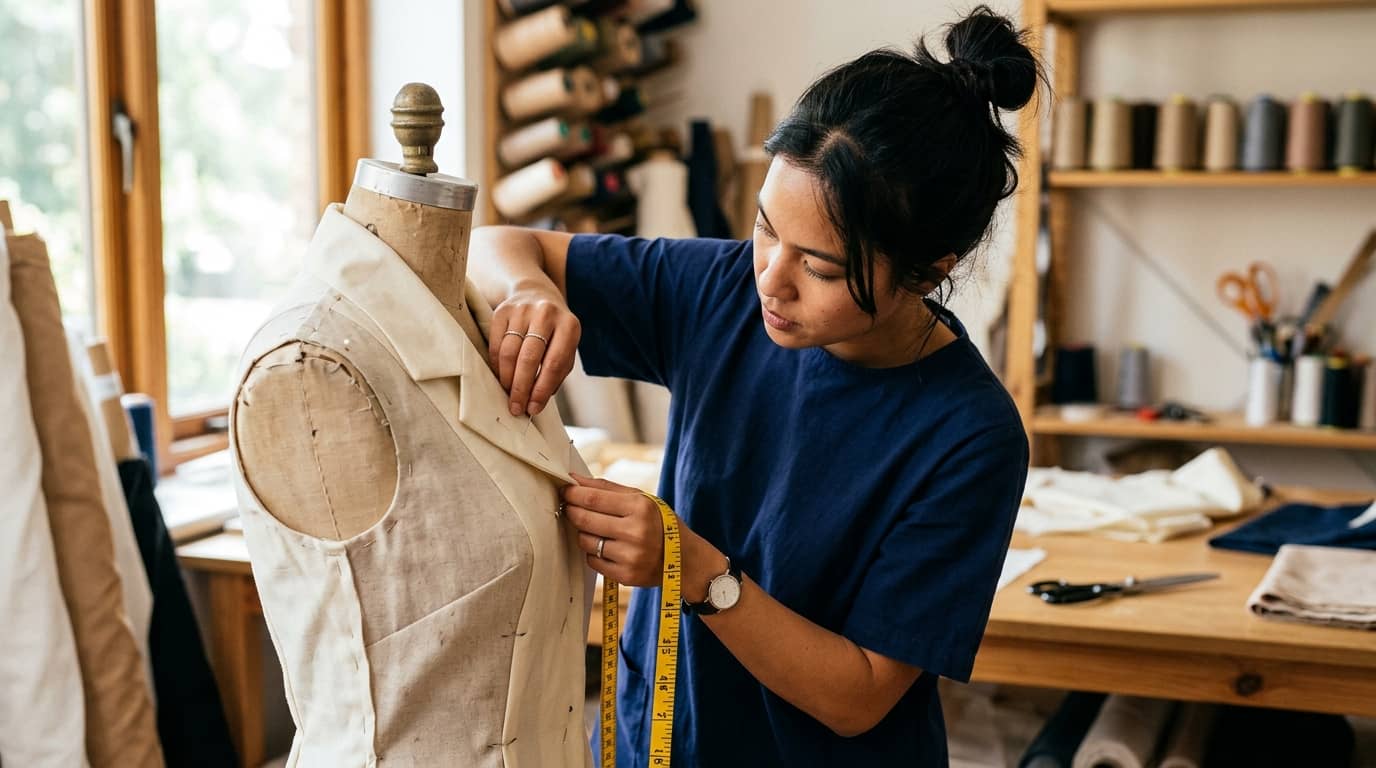
Blouse Design Course
Master every stage of blouse design, from drafting your first bodice block to constructing polished, market-ready garments. This course covers pattern drafting, fit principles, collar and sleeve construction, and professional finishing techniques. Whether you are building a career or expanding your creative skills, you will finish with a complete design portfolio and the confidence to bring any blouse concept to life.
What you'll learn:
You will learn how to take accurate body measurements, draft a fitted bodice block from scratch, and adapt that block into a wide range of blouse silhouettes. The course covers neckline shaping, collar construction, sleeve design, and every major closure method used in professional garment production. You will also study fabric selection, seam finishing, and pressing techniques that separate amateur work from industry-quality results. Supplementary modules introduce digital pattern drafting, grading across size ranges, embellishment methods, and the business skills needed to cost, source, and produce a blouse line. By the end, you will have a portfolio of five distinct blouse designs ready to present to clients or employers.
How you study in practice Blouse Design Course
How you practise Blouse Design Course
For businesses looking to train their team
With Elevify for businesses, the course includes exercises and examples tailored to your own business and the way your company needs.

Course content
8 Chapters • 36 LessonsDuration between 4 and 360 hours (you decide)
Chapter 1HideHide detailsSee detailsFoundations of Blouse Design
Foundations of Blouse Design
Lesson 1 • Workspace Setup and Safety
Organise an ergonomic, safe sewing workspace with proper lighting and storage. A well-arranged workspace reduces errors and physical strain during long sessions.
Lesson 2 • Essential Tools and Equipment
Survey hand tools, cutting equipment, and pressing tools required for blouse making. Proper tool selection directly affects accuracy and finish quality.
Lesson 3 • Fabric Selection for Blouses
Analyse woven and knit fabrics by weight, drape, and fibre content. Matching fabric properties to design intent prevents construction problems downstream.
Lesson 4 • Introduction to Blouse Anatomy
Identify every structural component of a blouse and its functional role. This vocabulary underpins all design and construction decisions throughout the course.
Chapter 2HideHide detailsSee detailsBody Measurement and Fit Principles
Body Measurement and Fit Principles
Lesson 1 • Analysing Body Proportions
Identify figure variations such as broad shoulders, full bust, and sway back that require pattern adjustments. Recognising these early prevents repeated fitting cycles.
Lesson 2 • Understanding Ease and Fit
Differentiate wearing ease from design ease and apply correct amounts for each blouse style. Ease decisions determine whether a garment feels fitted, relaxed, or oversized.
Lesson 3 • Creating a Personal Measurement Chart
Compile all measurements and ease values into a reusable reference chart. This chart becomes the foundation for every pattern drafted in subsequent chapters.
Lesson 4 • Taking Accurate Body Measurements
Record all key circumference, length, and width measurements needed for blouse drafting. Precision here eliminates fitting corrections in later stages.
Chapter 3HideHide detailsSee detailsPattern Drafting Fundamentals
Pattern Drafting Fundamentals
Lesson 1 • Dart Construction and Placement
Draft bust, waist, and shoulder darts that shape the flat fabric to body contours. Correct dart placement is critical for achieving a smooth, professional fit.
Lesson 2 • Pattern Drafting Tools and Materials
Select and use rulers, curves, and drafting paper appropriate for accurate pattern construction. Correct tools ensure clean lines and precise seam allowances.
Lesson 3 • Drafting Sleeve and Neckline Blocks
Create a basic set-in sleeve block and standard neckline template from the bodice block. These components expand the range of styles achievable from one master block.
Lesson 4 • Trueing and Finalising the Block
True all seam lines, verify measurements, and transfer the block to card stock. A trued block ensures consistent results across multiple style variations.
Lesson 5 • Drafting the Basic Bodice Block
Construct front and back bodice blocks using measurement-based geometric steps. The bodice block is the master template from which all blouse styles are derived.
Chapter 4HideHide detailsSee detailsNeckline and Collar Design
Neckline and Collar Design
Lesson 1 • Shirt Collar with Stand
Construct a classic two-piece shirt collar combining a stand and a fall. This collar type is foundational to tailored and casual blouse design.
Lesson 2 • Stand Collar and Band Collar
Draft mandarin and band collars that stand upright around the neck. Precise grain line placement prevents twisting and ensures a comfortable fit.
Lesson 3 • Decorative Neckline Treatments
Apply ruffles, cowls, and keyhole openings as design details at the neckline. These treatments add style variety without requiring a new block.
Lesson 4 • Neckline Shape Variations
Modify the basic neckline template to create scoop, V, square, and boat necklines. Each shape requires specific seam finishing to maintain clean edges.
Lesson 5 • Flat Collar Construction
Draft Peter Pan and sailor collars that lie flat against the bodice. Flat collar shape is determined by the relationship between the collar's inner and outer curves.
Chapter 5HideHide detailsSee detailsSleeve Design and Construction
Sleeve Design and Construction
Lesson 1 • Sleeve Style Variations
Adapt the basic sleeve block into puff, bishop, bell, and cap sleeve silhouettes. Each variation uses specific slash-and-spread or rotation techniques.
Lesson 2 • Cuff and Sleeve Hem Finishes
Draft and attach barrel, French, and faced cuffs to complete sleeve openings professionally. Cuff style must align with the overall blouse design aesthetic.
Lesson 3 • Setting In Sleeves Professionally
Ease and set a sleeve cap into the armhole without puckers or drag lines. Correct easing technique is the single most important factor in a professional sleeve finish.
Lesson 4 • Raglan and Dolman Sleeves
Draft raglan and dolman sleeves that integrate the sleeve into the bodice seamline. These styles require modifying both the sleeve and bodice blocks simultaneously.
Chapter 6HideHide detailsSee detailsBlouse Opening and Closure Techniques
Blouse Opening and Closure Techniques
Lesson 1 • Zipper Applications
Insert centred, lapped, and invisible zippers into blouse side seams and back openings. Each zipper type requires a different seam preparation and foot attachment.
Lesson 2 • Button and Buttonhole Plackets
Draft and construct continuous, faced, and shirt-style plackets for centre front openings. Placket width and button spacing must be calculated before cutting.
Lesson 3 • Hook, Snap, and Tie Closures
Apply hooks and eyes, snaps, and self-fabric ties as alternative or supplementary closures. These details add design interest while solving functional opening needs.
Lesson 4 • Buttonhole Techniques
Produce machine-stitched, bound, and hand-worked buttonholes sized to specific buttons. Buttonhole placement must be marked before any stitching begins.
Chapter 7HideHide detailsSee detailsStyle Adaptation and Design Variations
Style Adaptation and Design Variations
Lesson 1 • Adding Volume and Drape
Apply slash-and-spread, flare, and pleating methods to create volume in bodice and hem areas. Volume placement determines the overall silhouette and movement of the blouse.
Lesson 2 • Yoke and Panel Design
Introduce horizontal and shaped yokes to divide the bodice into decorative and functional panels. Yoke seams can replace darts and add design interest simultaneously.
Lesson 3 • Developing a Style Portfolio
Compile five adapted blouse designs into a cohesive portfolio with flat sketches and pattern pieces. A portfolio demonstrates design range and serves as a professional reference.
Lesson 4 • Wrap, Tie, and Asymmetric Styles
Draft wrap fronts, one-shoulder, and asymmetric hemlines as contemporary style options. These designs require careful balance and closure planning from the start.
Lesson 5 • Dart Manipulation Techniques
Rotate and merge darts to create princess seams, tucks, and released fullness. Dart manipulation is the primary tool for converting a fitted block into new silhouettes.
Chapter 8HideHide detailsSee detailsProfessional Construction and Finishing
Professional Construction and Finishing
Lesson 1 • Pressing Techniques for Quality
Press each seam and component at every construction stage to achieve a flat, professional result. Pressing is a construction step, not a finishing step, and must be done continuously.
Lesson 2 • Construction Sequence Planning
Establish the correct order of assembly to avoid sewing yourself into a corner. Sequence planning reduces rework and ensures each component is accessible when needed.
Lesson 3 • Quality Control and Inspection
Evaluate the finished blouse against fit, construction, and appearance standards before delivery. Systematic inspection identifies defects that can be corrected before the garment leaves the workroom.
Lesson 4 • Professional Cutting and Marking
Cut fabric accurately on grain using pattern weights and single-layer or double-layer methods. Precise cutting and marking prevent cumulative errors during assembly.
Lesson 5 • Seam Finishing Methods
Apply French seams, flat-felled seams, serged edges, and Hong Kong finishes to suit fabric type. Seam finish choice affects durability, bulk, and interior appearance.

Your valid completion certificate
This course is for you:
Home sewer: ready to move beyond basic patterns into original garment design.
Fashion student: seeking hands-on technical skills to complement academic coursework.
Tailor or dressmaker: wanting to expand services into structured blouse construction.
Career changer: drawn to garment design as a new professional direction.
Craft entrepreneur: building a product line that requires consistent, repeatable patterns.
Costume designer: needing fitted bodice and closure skills for stage or screen work.
What our students say
Hear from those who've already studied with us:
Your lessons are perfect. I purchased the one-year package and finally have the opportunity to follow various topics of interest without needing to change platforms... I'm grateful for everything you do, I've already recommended you to other people...

I like how the lessons are straight to the point and how I can change chapters and skip content I don't need.
I like the content and the way videos are presented and transcribed, which speeds up the process!

The platform is fast and simple to use. The diversity of content and complementary videos really help with learning.

Top upskilling courses






FAQ
Who is Elevify? How does it work?
Do the courses have certificates?
Are the courses free?
What is the course workload?
What are the courses like?
How do the courses work?
What is the duration of the courses?
What is the cost or price of the courses?
What is an EAD or online course and how does it work?
PDF Course